

Currently Empty: 0.00$
Child Development
Finger Isolation, Grip Progression, and Tool Control
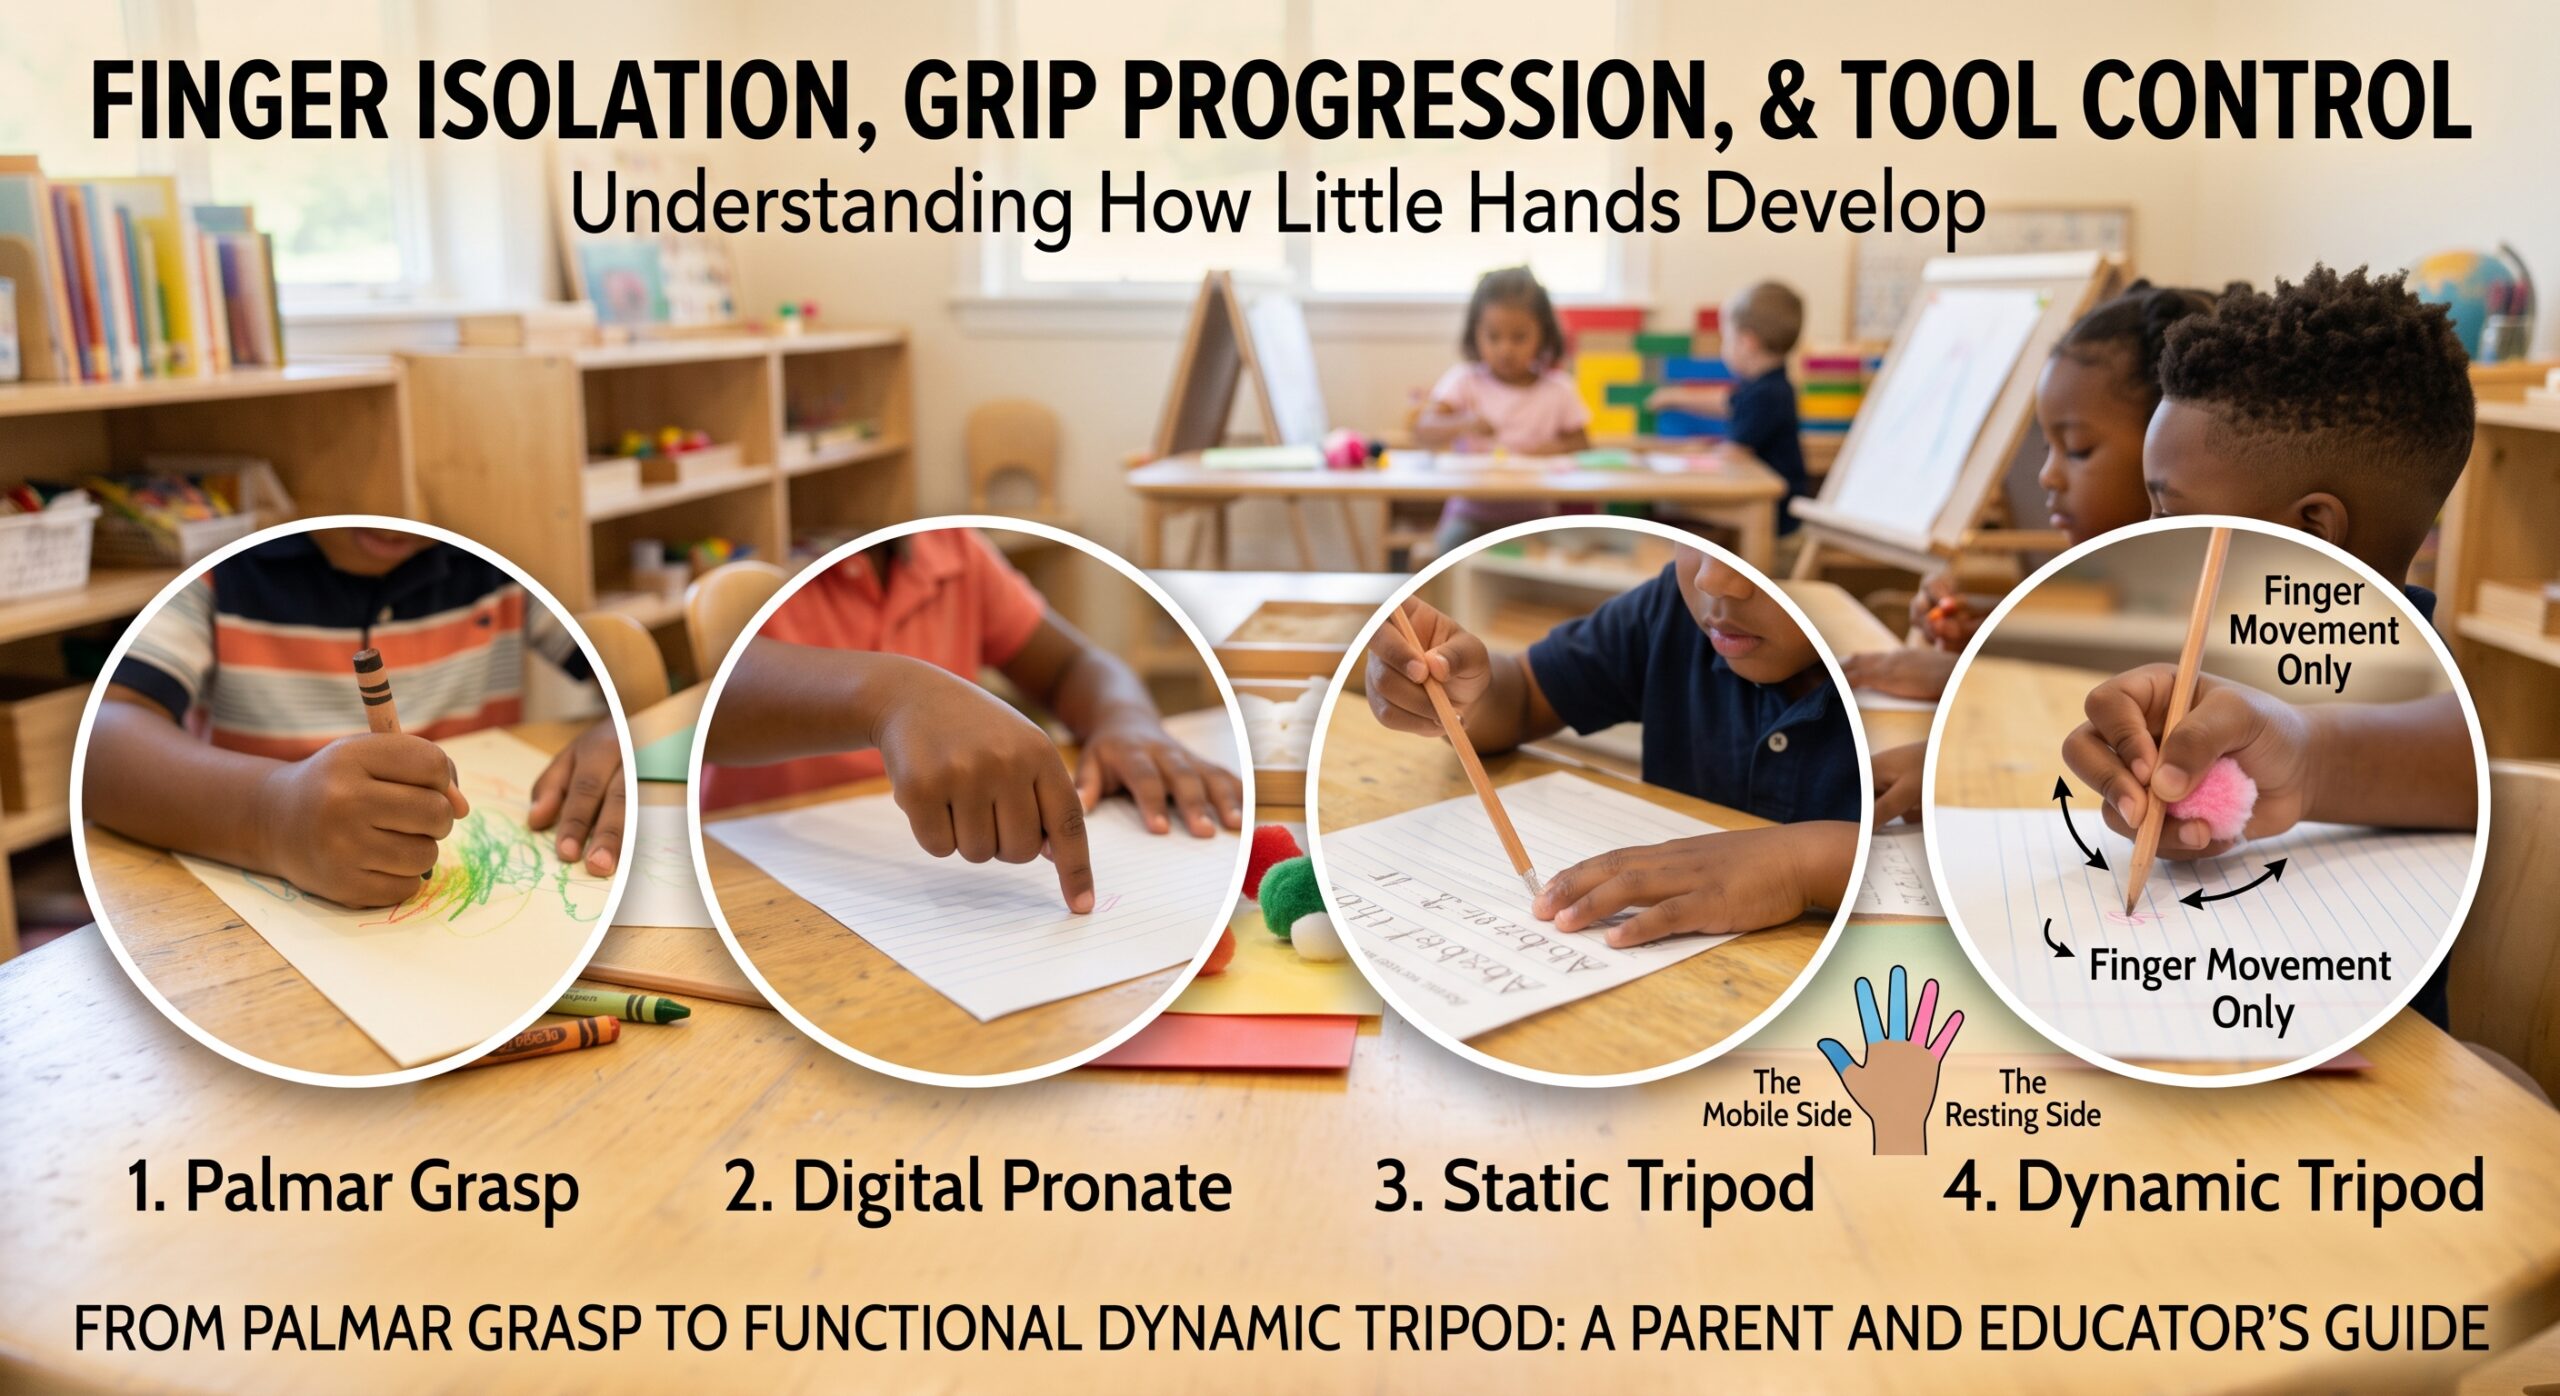
Once children have built up their core and shoulder muscles, it’s time to focus on their hands. This module shows how kids move from grabbing with their whole hand to using their fingers with more control by practising with simple tools.
The Two Sides of the Hand
- The thumb, index, and middle fingers pinch and move the pencil.
- The ring and pinky fingers tuck into the palm and rest on the paper to provide support.
4 Grip Stages
- Palmar Grasp (1–2 years): The child wraps their whole fist around the crayon, and the movement comes from the shoulder.
- Digital Pronate (2–3 years): The child’s fingers point down toward the page, and the movement comes from the elbow.
- Static Tripod (3.5–4.5 years): The child pinches near the tip of the tool with three fingers, and the movement comes from the wrist or arm.
- Dynamic Tripod (4.5–6+ years): Three fingers pinch the pencil while the other two tuck in, and the movement comes only from the fingers.
3 Simple Grip Tricks
- Try using short tools, like half-inch crayon stubs or golf pencils. These make it harder to use a whole-fist grip and encourage children to pinch with their fingers.
- For the tissue tuck, have the child hold a small pom-pom or tissue against their palm with their ring and pinky fingers while they hold their pencil.
- To do the pinch and flip, have the child pinch the pencil near the eraser with two fingers, then flip it back into the space between the thumb and index finger.
Quick Fix Guide
- If the thumb is tucked under the index finger, try switching to shorter crayon stubs to help open up the grip.
- If the child is tearing paper or has white knuckles, have them practice gentle tracing in sand or shaving cream to relax their grip.
- If the pencil rests on the ring finger in a four-finger grip, this is functional and pain-free, so no changes are needed.
- If the child has a hooked wrist, move the paper to an easel or slanted board right away.